This is a suite of Workflow Actions to help you manage your Agency. This is a private app hosted on the Highlevel App Marketplace, and you simply access the Workflow Actions & Triggers in your Workflow builder within your agency sub-account.
It allows you to create/read/update/delete Locations, Users, and more - all within Workflows!
INSTALLATION & SETUP:
You can find the steps to install and setup the Agency Workflow Actions app when you are logged into your Toolkit account and click on the "Apps" menu: https://themarketerstoolkit.com/agency-management-workflow-actions/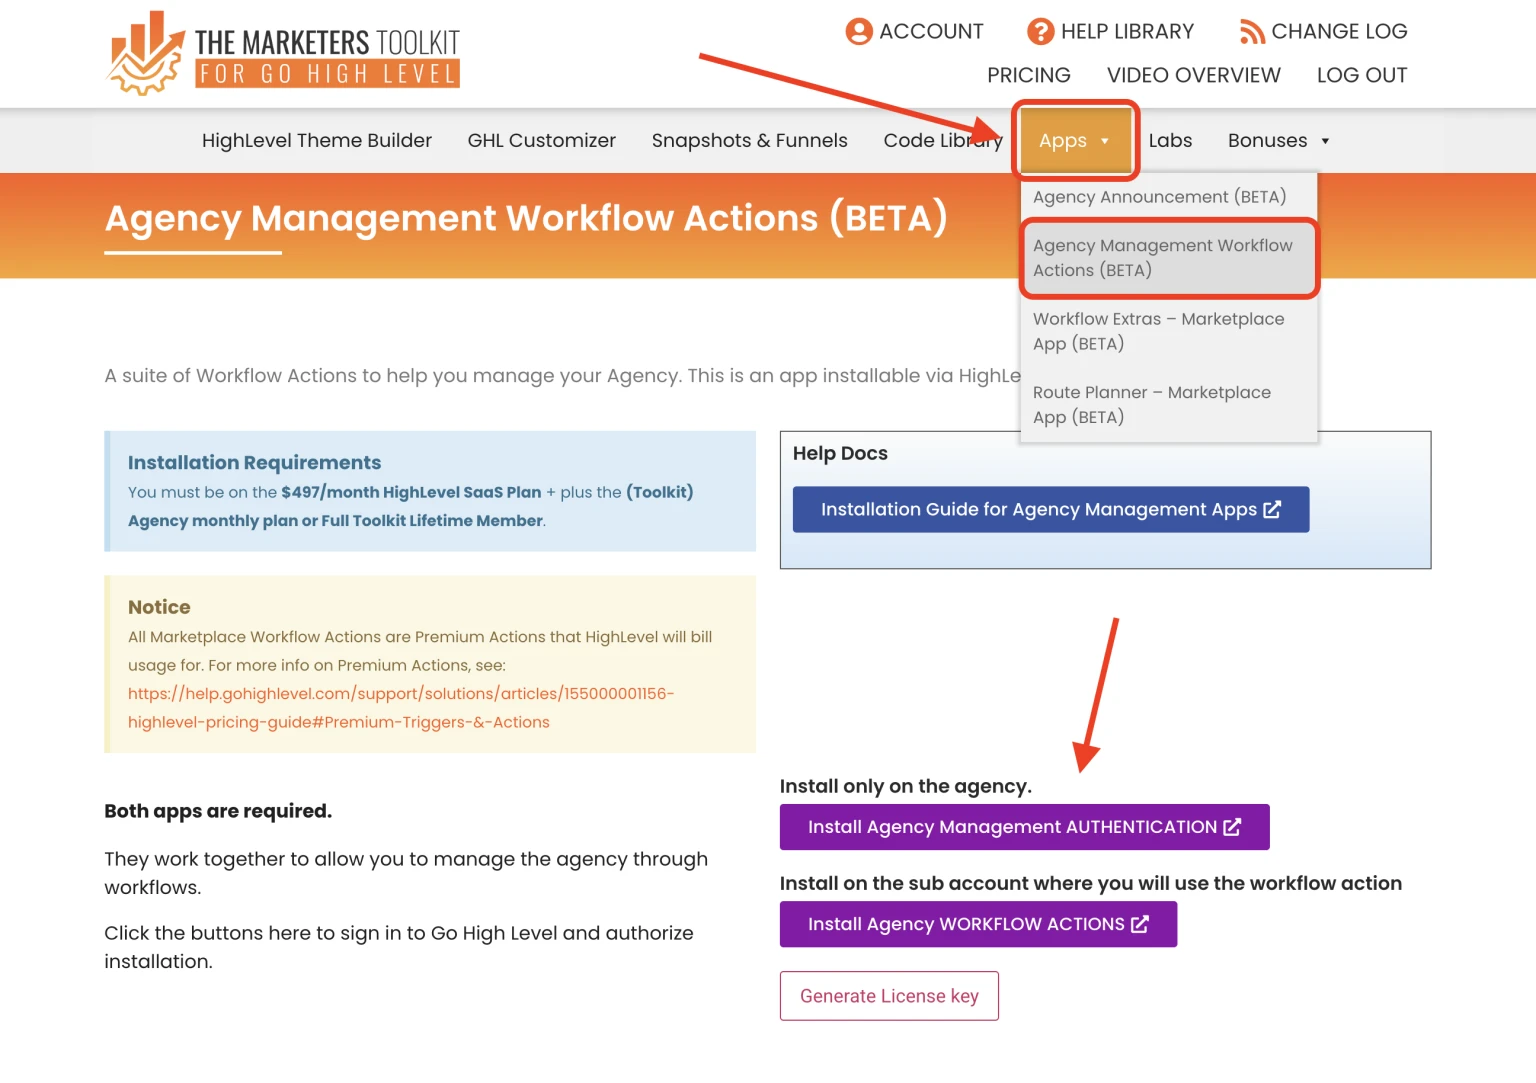
Follow the rest of the steps below to complete the installation.
PART 1 - (Do This First):
Install the Agency Management Authentication app following the directions below.
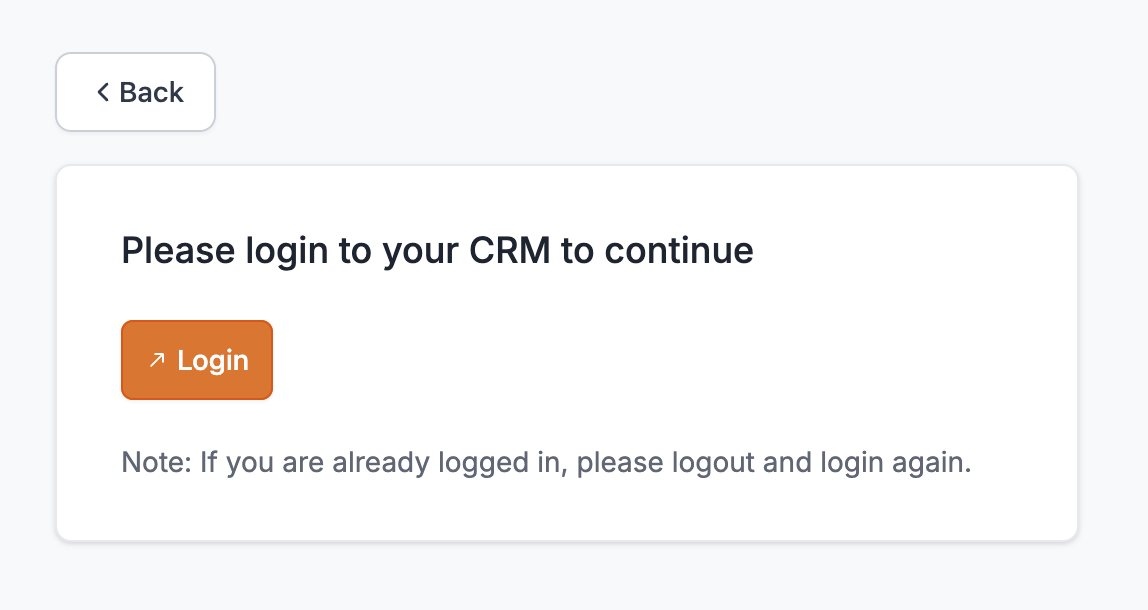
Click the PURPLE button ("Install Agency Management AUTHENTICATION"), or the "Unlock & Install Part 1" button in your email invitation (if you got an email invite), then proceed to login using your HighLevel credentials, if required. In case you’re already logged in and want to change your HighLevel Account, go to https://app.leadconnectorhq.com/, logout, and login using the correct account.
If you're already logged in and your account is correct, proceed to Step 2.
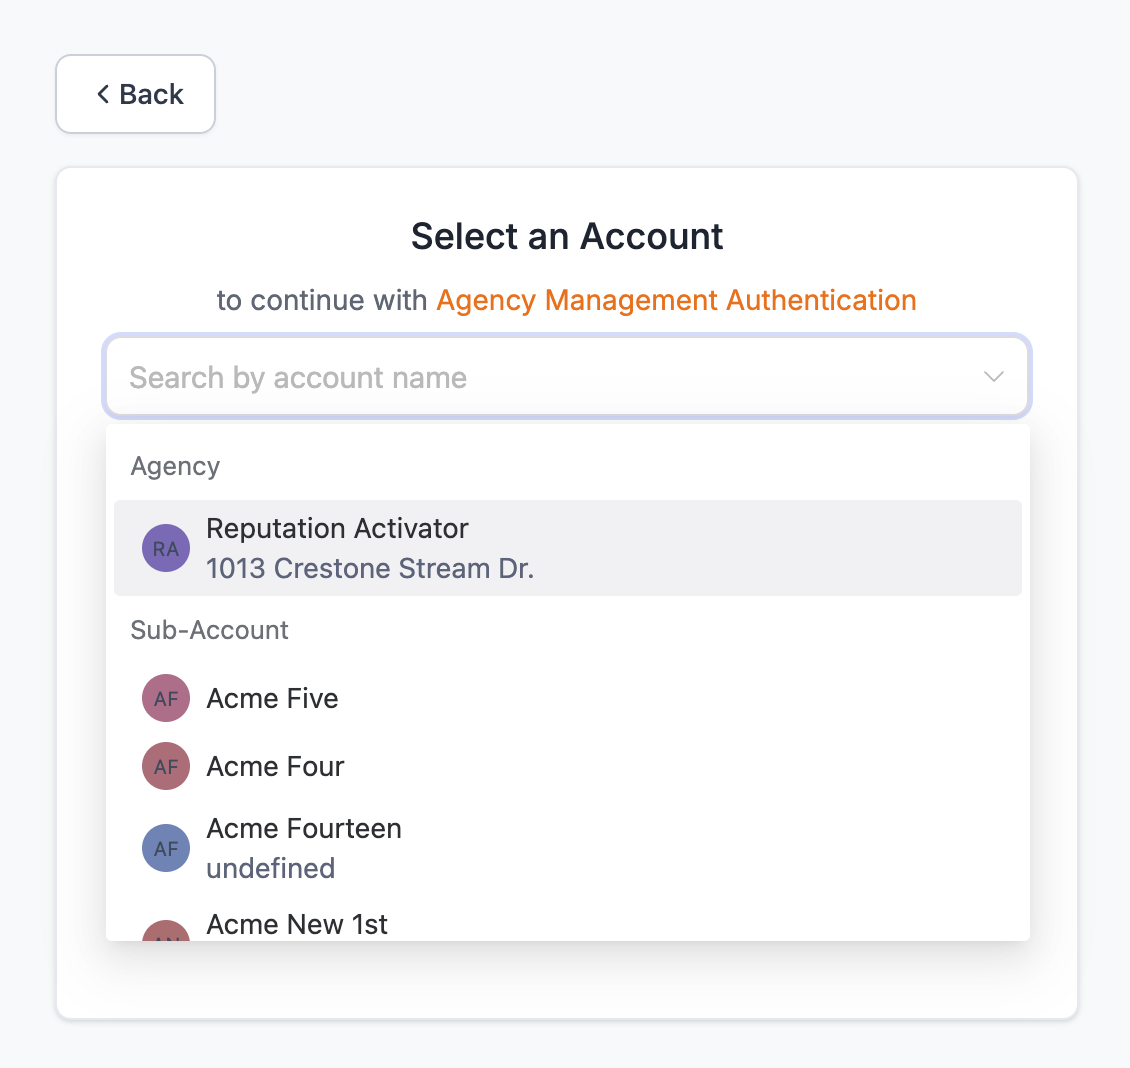
Choose your Agency to install to. DO NOT choose a sub-account.
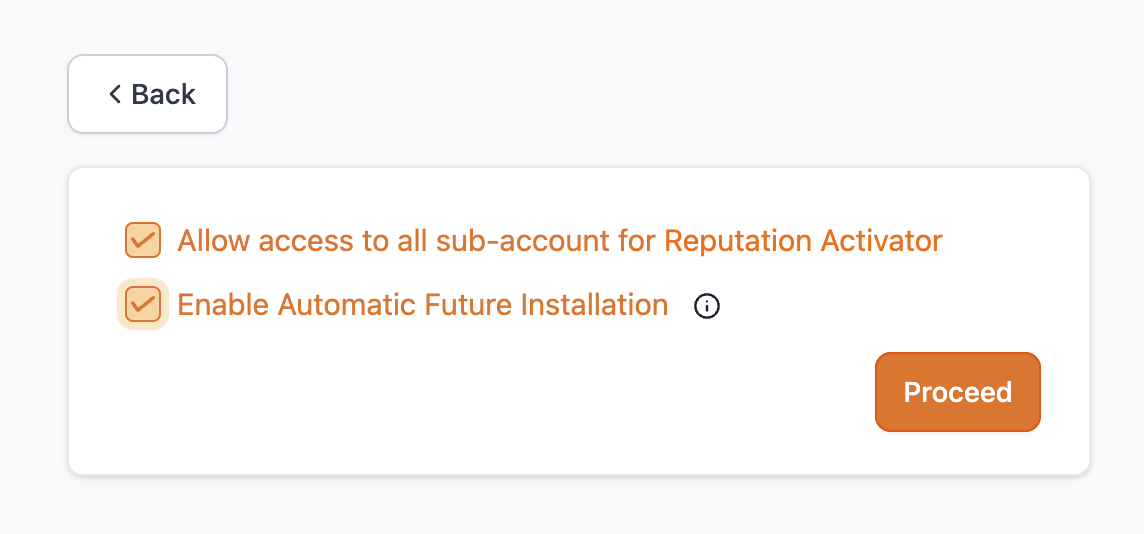
Check both “Allow access to all sub-account…” and “Enable Automatic…” options. (You may only see one unchecked option, but if you check it the second option will appear.) Then click "Proceed".
If the installation succeeded, you will be redirected to the Agency Home Page. (Please ensure you are on your white-labeled domain if you have one set up.) To check if the app is installed, from the Sidebar menu, you can go to App Marketplace > Installed Apps, and see if the app below exists.
PART 2 - (Do This After Part 1, Above):
Install the Agency Management Workflow Actions app following the directions below.
Click the PURPLE button ("Install Agency Management WORKFLOW ACTIONS"), or the "Unlock & Install Part 2" button in your email invitation (if you got an email invite), then proceed to login using your HighLevel credentials, if required. In case you’re already logged in and want to change your HighLevel Account, go to https://app.leadconnectorhq.com/, logout, and login using the correct account.
If you're already logged in and your account is correct, proceed to Step 6.

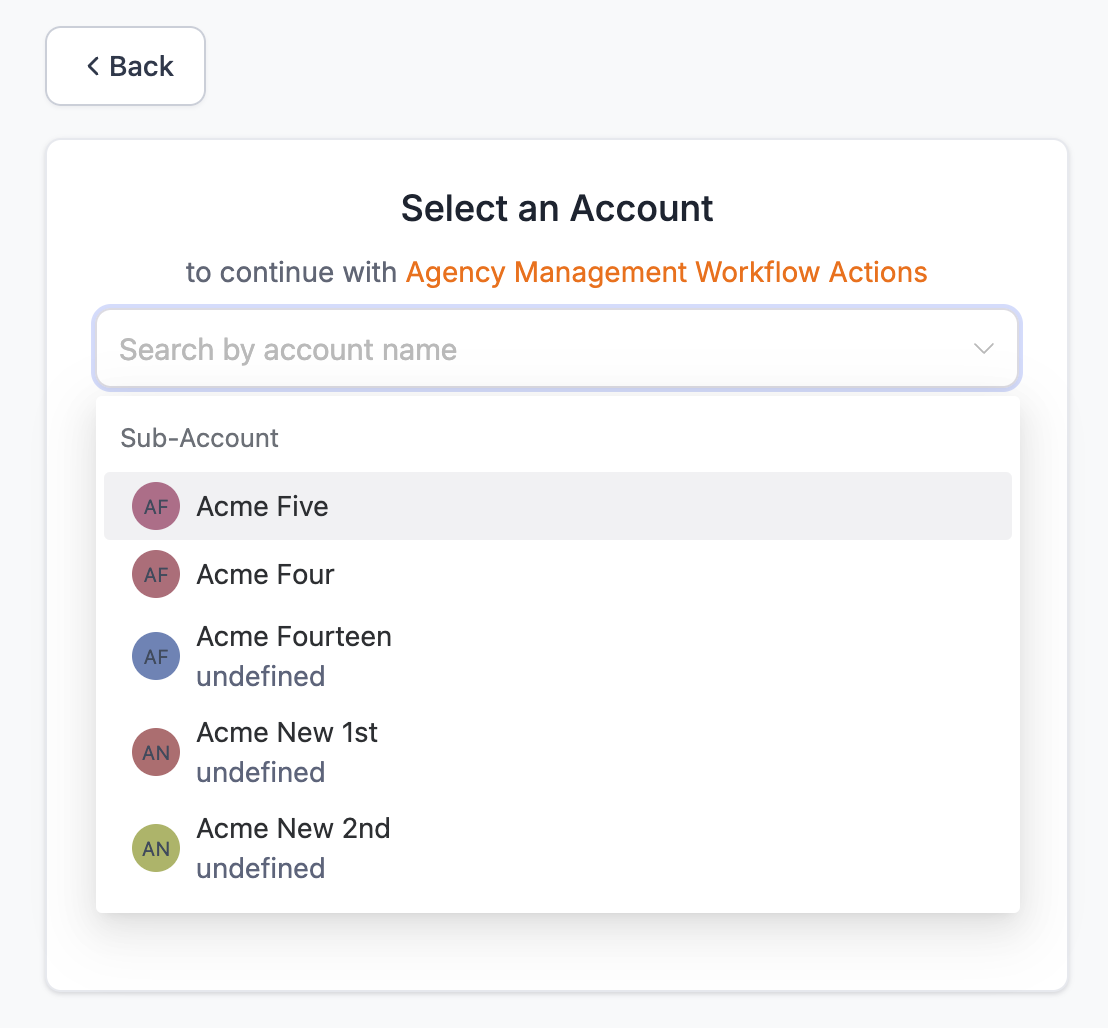
Choose a single sub-account to install the Agency Management Workflow Actions on. This should be the sub-account your agency uses to sell your SaaS plans from and manage your customers.
(DO NOT choose a sub-account that belongs to a client.)
You will be prompted to enter the License Key that you can get from The Marketers Toolkit main website. Click on the link displayed during installation and it will open a new tab where you can generate your License Key and copy it.
(If no link is displayed, then just click the "Generate License Key" button and copy the key. See screenshot at the top for reference.)
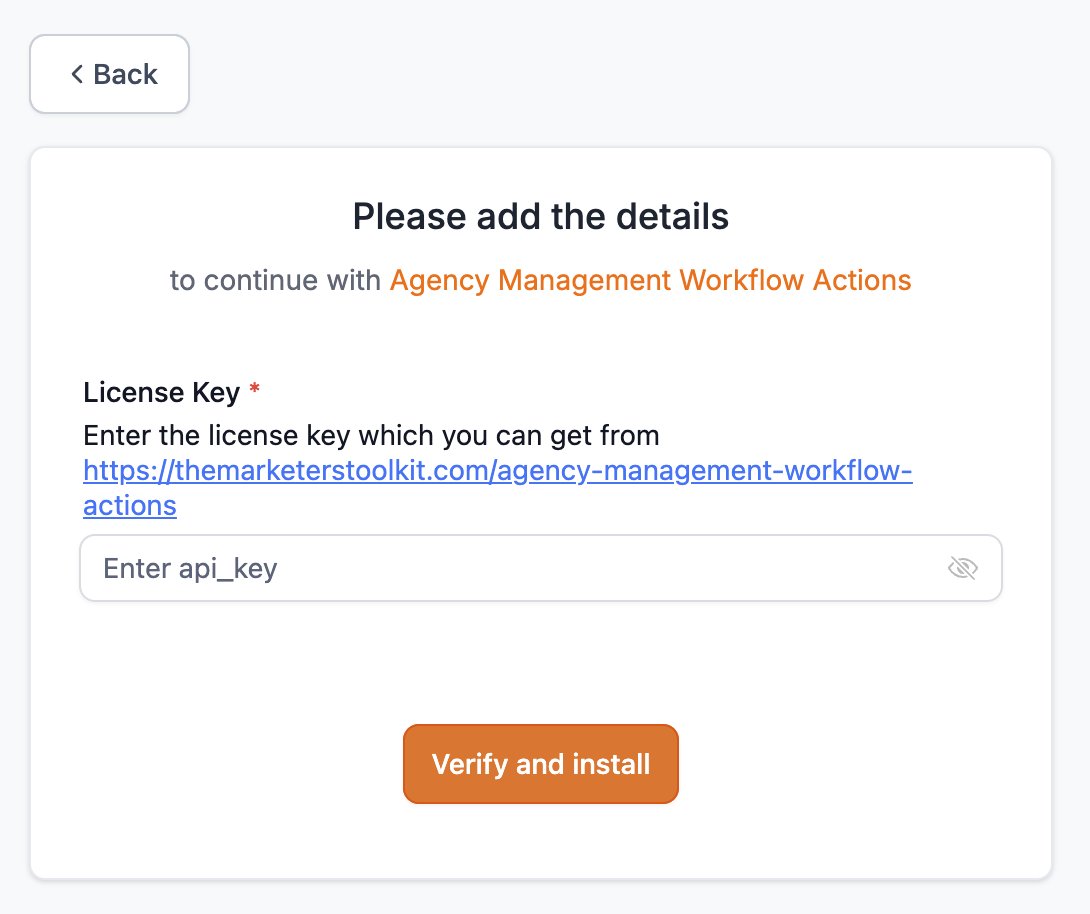
Paste your License Key into the field then click "Verify and install". If successful, you will be redirected to that particular Sub-account. (Please ensure you are on your white-labeled domain, if you have it set up.)
You will find a new Custom Menu Item at the bottom called "Agency Management...". It is only visible in the agency sub-account that the Agency Management Workflow Actions app was installed on.

Clicking on this Custom Menu Item will open the Agency Management Workflow Actions dashboard where you can view your Workflow Logs.

On this screen, you can view the Logs of triggered webhooks from this particular sub-account’s Agency Management Workflow Actions.
From here, you can open Workflows and you will find a new set of Workflow Actions to use when you are editing a Workflow. (Scroll to the bottom of the Workflow Actions list.)

Related Help Docs:
Overview: Agency Management (Beta)
List of Agency Management Workflow Actions
Bulk Updating Custom Values via "Custom Values To Upsert (Bulk)"
Agency Management Workflow Actions: How To Create a New Location and New User