With the Toolkit RoutePlanner app, you can now send your users an email with the houses they need to visit each day with optimized directions. Easily prevent them from criss crossing town and optimize their day.
These actions work off opportunity pipeline stages.
This was the only way we could group addresses and loop through them. If you find a better way, let us know.
INSTALLATION & SETUP:
You can find the steps to install and setup the Route Planner app when you are logged into your Toolkit account and click on the "Apps" menu: https://themarketerstoolkit.com/routeplanner/
Follow the rest of the steps below to complete the installation.
Installing Route Planner:
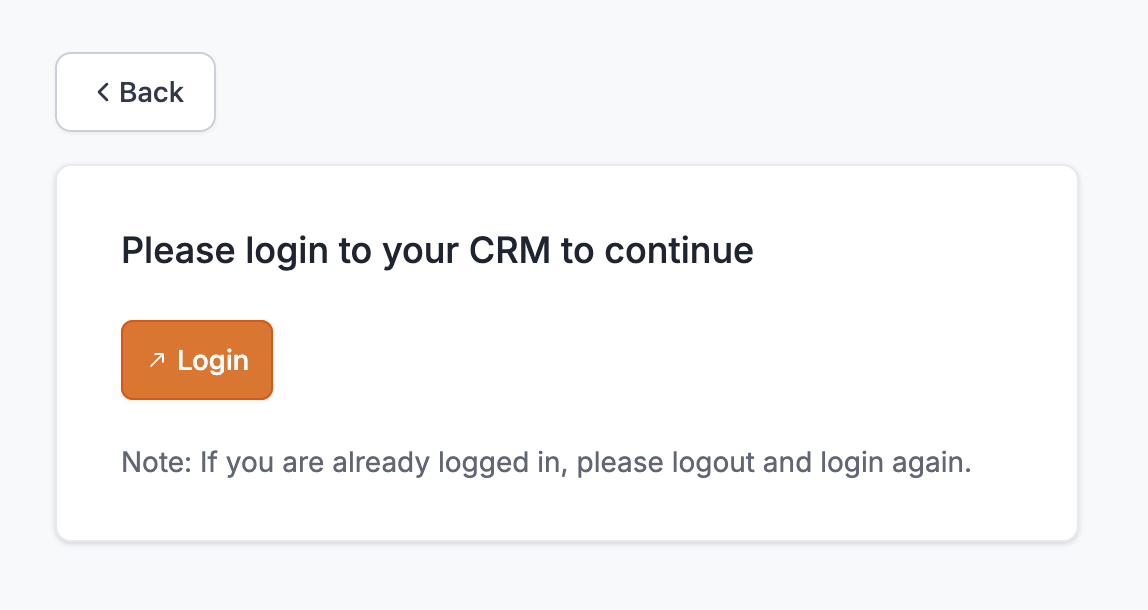
Click the PURPLE button ("Install Toolkit RoutePlanner"), or the "Unlock & Install" button in your email invitation (if you got an email invite), then proceed to login using your HighLevel credentials, if required. In case you’re already logged in and want to change your HighLevel Account, go to https://app.leadconnectorhq.com/, logout, and login using the correct account.
If you're already logged in and your account is correct, proceed to Step 2.
Choose any sub-account to install the Route Planner on.

You will be prompted to enter the License Key that you can get from The Marketers Toolkit main website. Click on the link displayed during installation and it will open a new tab where you can generate your License Key and copy it.
(If no link is displayed, then just click the "Generate License Key" button and copy the key. See screenshot at the top for reference.)

Paste your License Key into the field then click "Verify and install". If successful, you will be redirected to that particular Sub-account.
You will find a new Custom Menu Item at the bottom called "Route Planner".

From here, you can open Workflows and you will find a new set of workflow actions, under the category "Route Planner", to use when you are editing a Workflow. (Scroll to the bottom of the Workflow Actions list.)
